LIDAR Guns, Accuracy, and Speeding Tickets

Anyone who has driven a vehicle has encountered a Light Detection and Ranging (LIDAR) system in action. Some of you have even found out how much it can cost in terms of speeding fines! Let’s take a closer look behind the scenes. How do we know the detector is working?

Author:

Dan Ford, Southwest Regional Sales Manager, Ophir-Spiricon, LLC

In this application, the LIDAR device sends out a 130 μW 904 nm beam, the beam is produced by three light emitting diodes. Once the light leaves the device and travels down range towards the target the light is scattered.

Figure 1. LIDAR system.

A telescope is then used to collect data on the scattered light and calculate the distance to the target. Since the light is traveling at the speed of light — 299,792,458 m/s — the device is able to calculate how long it has taken the light (photons) to travel from the time it leaves the device and the telescope receives the returning photons. Just about anything will scatter the light (photon): dust, vapors, aerosols, and, in this application, a moving object.

A customer that outfits law enforcement vehicles with electronics also tests the LIDAR guns for performance. An Ophir PD300 sensor connected to an Ophir meter regularly checks the power output of the beam to confirm it is producing the proper amount of power.

The customer wants to go one step further in the testing procedure and test each of the three diodes that produces the beam. Two different methods were tested.

The equipment for the two tests included:

Ophir-Spiricon BeamGage® Professional software Ophir-Spiricon USB SP620 profiling camera 2” Opalescent diffuser 25mm CCTV lens “C” mount ND1 filter

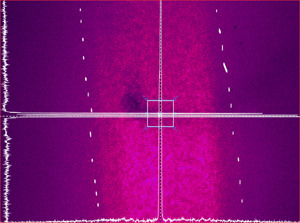
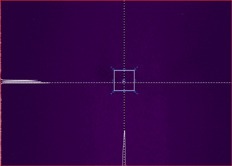
When simply firing the beam directly onto the SP620 profiling camera, the beam scattered across the area of the array and made it impossible to distinguish the three diodes, as seen in Figure 3.

Figure 2. Scattered beam shows three diodes.

In the first test method, a crude aperture was made to block most of the overall emitted beam and profile the three diode emitters directly on to the SP620 profiling camera; that required a ND1 filter.

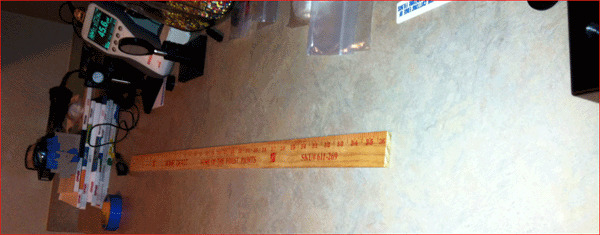
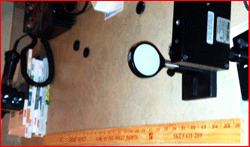
Figure 3. System setup for profiling the three diode emitters onto the SP620 camera.
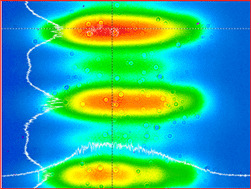
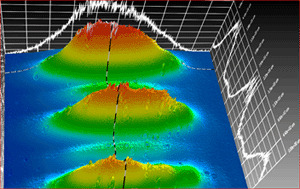
Figure 4. 2D setup (left) and 3D setup (right).

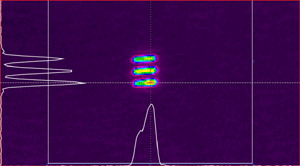
For the second testing method, a 2” Opalescent window was used to diffuse the overall beam rather than block it with an aperture. This was done by aiming the beam on to one side of the diffuser and imaging the backside of the diffuser with a 25mm CCTV lens attached to the SP620 profiling camera. Figure 5 shows the crude setup.

Figure 5. System setup for profiling that diffuses overall beam.
Figure 6. Actual 2D readings (left) and 3D readings (right).

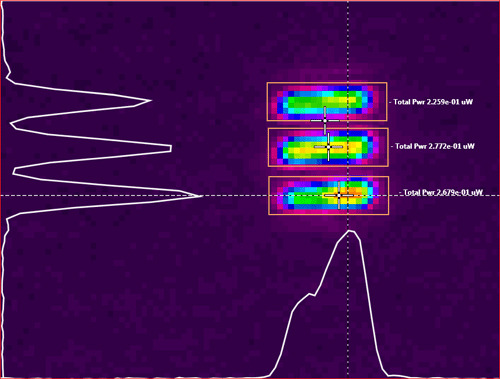
Using a PD300 sensor and Vega meter to measure the overall output at 131 μW, and calibrating the BeamGage software to read out the power, it was easy to draw partitions around each diode to measure the output and analyze the spatial resolution of each emitter.

Figure 7. Measurements after drawing partitions around each diode.

The tests performed here were only to determine the condition and output of the three diode emitters. This is only part of the overall testing that needs to be performed when assembling the overall system that includes optical alignment and additional equipment.

Contact Us illustration

Have questions? Require assistance?

Click below to to contact Ophir Photonics and we'll get back with you shortly.

Contact Ophir Photonics